Tests Overview
Testing a MuscleX Installation
Tests are provided to ensure results from an installation match expected results across different devices and dependency versions. Tests can be run from the command line or from the GUI.
GUI Testing
A testing module is provided in the launcher GUI. If no log is found, this procedure will run the first time the GUI is launched on a device. To use the GUI testing module:
Launch the MuscleX GUI
Click Run Tests in the bottom right corner
Click Run Global Tests again at the top of the window to run all module tests
If you’d only like to run the GPU tests, click run GPU Test and the test will determine if
pyopenclis installed properly and if MuscleX can access a GPU
Command Line testing
Open a terminal window and run musclex test_global to run global testing. You can also run musclex test_impl to run detailed implementation tests. Output from tests will be printed to the command line. Use musclex test_gpu to only run the GPU tests.
Environment testing
Open a terminal window and run musclex test_env to run environment tests. Output from tests will be printed to the command line. It compares the Python and packages versions used for the release of the latest versions to the versions installed in the current environment. The release versions are saved as raw data in the musclex/environment_tester.sh script.
This is mostly for control purpose: it is possible to fail the test and have MuscleX functionalities working fine.
Testing Methodology
The testing suite in musclex/tests/ is used for verifying that MuscleX produces predictable results across version changes. Each module is tested independently using module_test.py. The module test runs in two modes - testrecord and testverify. In testrecord, module output is serialized to Pickle files for a particular set of input test data. In testverify, the same data is processed again and serialized to Pickle files, but is then compared to the files produced in testrecord mode. If any of these comparisons fail, it’s deemed a failing test and the location of the failure is returned to the user.
This approach provides a couple of important assurances. For developers, it ensures that no unexpected changes in module behavior come up that are caused by changes across versions. For installers, this verifies that an installation is behaving in the way developers expected. The testing framework also provides a tool for ensuring the reproducibility of results across devices.
testrecord
When a new version is pushed that causes changes in test output, a new set of test data should be recorded. To do this starting from the root of the repository:
Change directory to the test directory.
cd musclex/tests/
Run
module_test.pyintestrecordmode.
python test_utils.py testrecord
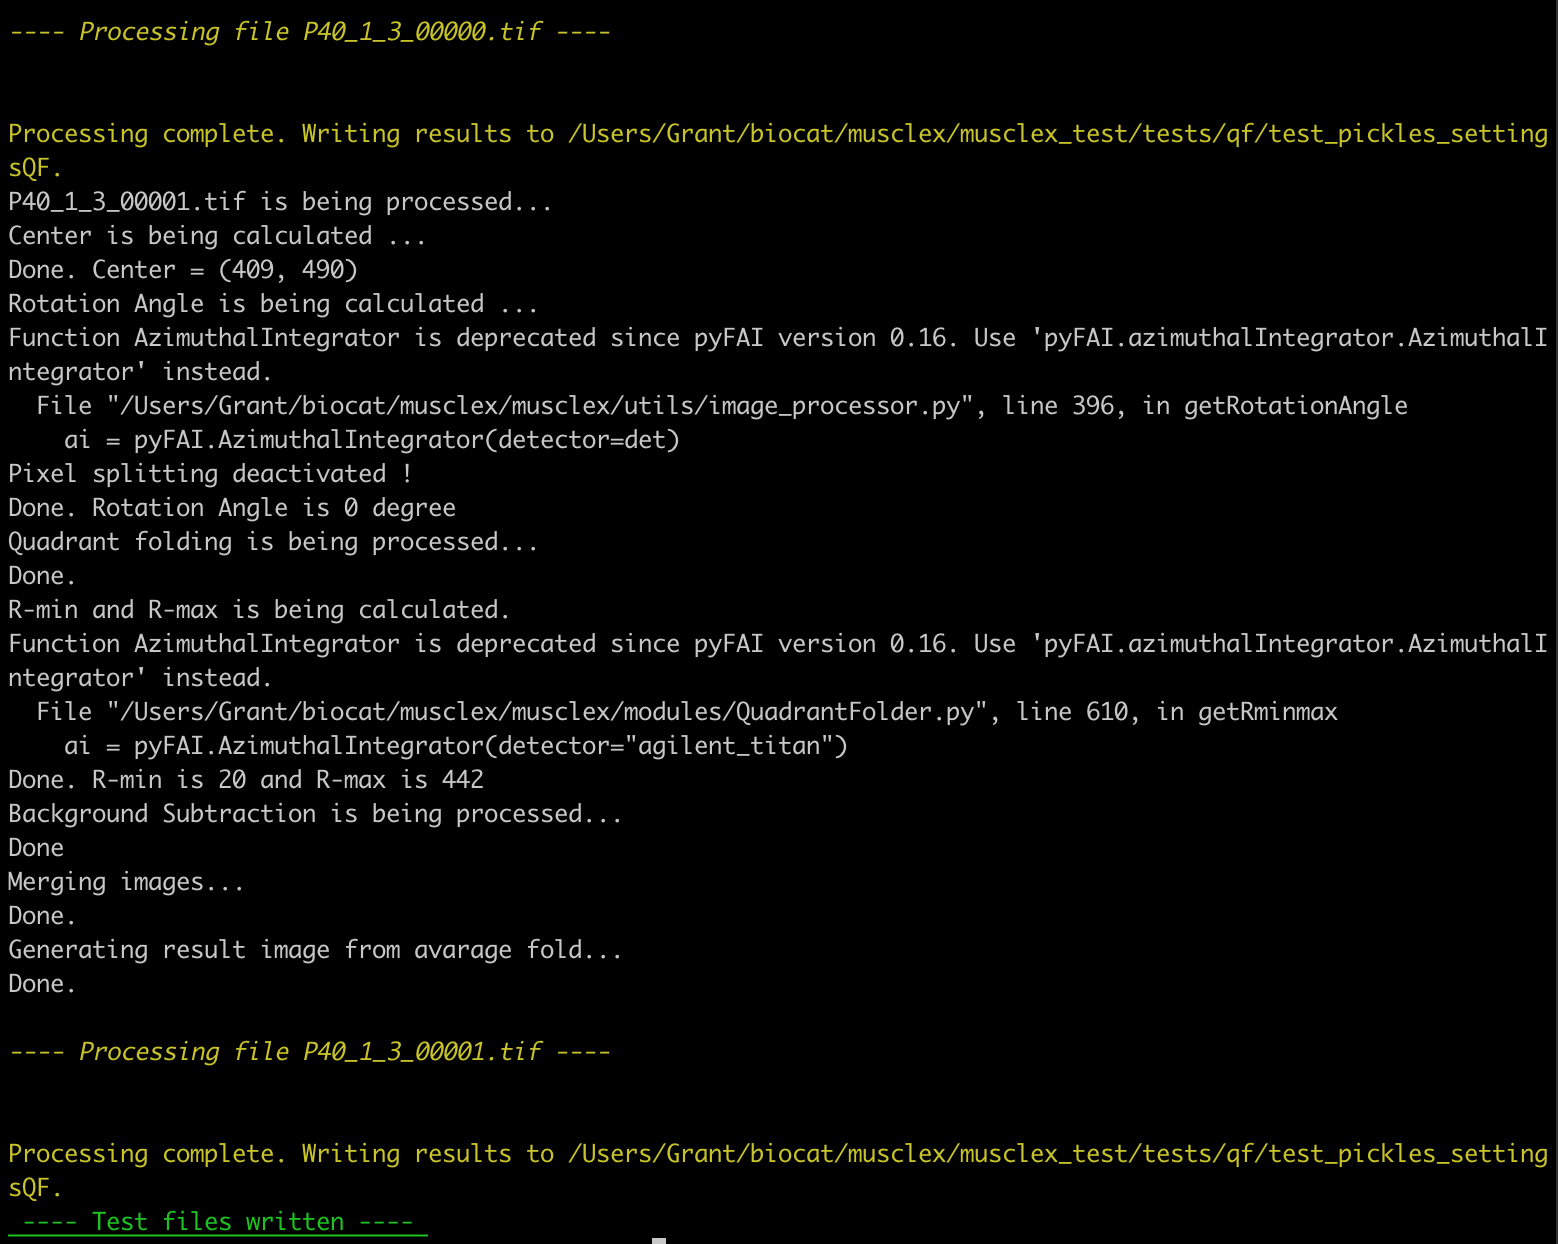
Serialized Pickle files will be written to <modulename>/test_pickles. One file is written for each field in a module object’s info class variable.
 An example of
 testrecord output.
testverify
Once output data has been recorded using testrecord, tests can be run using testverify. testverify mode processes the same input data as testrecord, and compares the output against the data in <module_name>/test_pickles.
To run the whole testing suite use the following command from the root of the repository:
python test_utils.py testverify
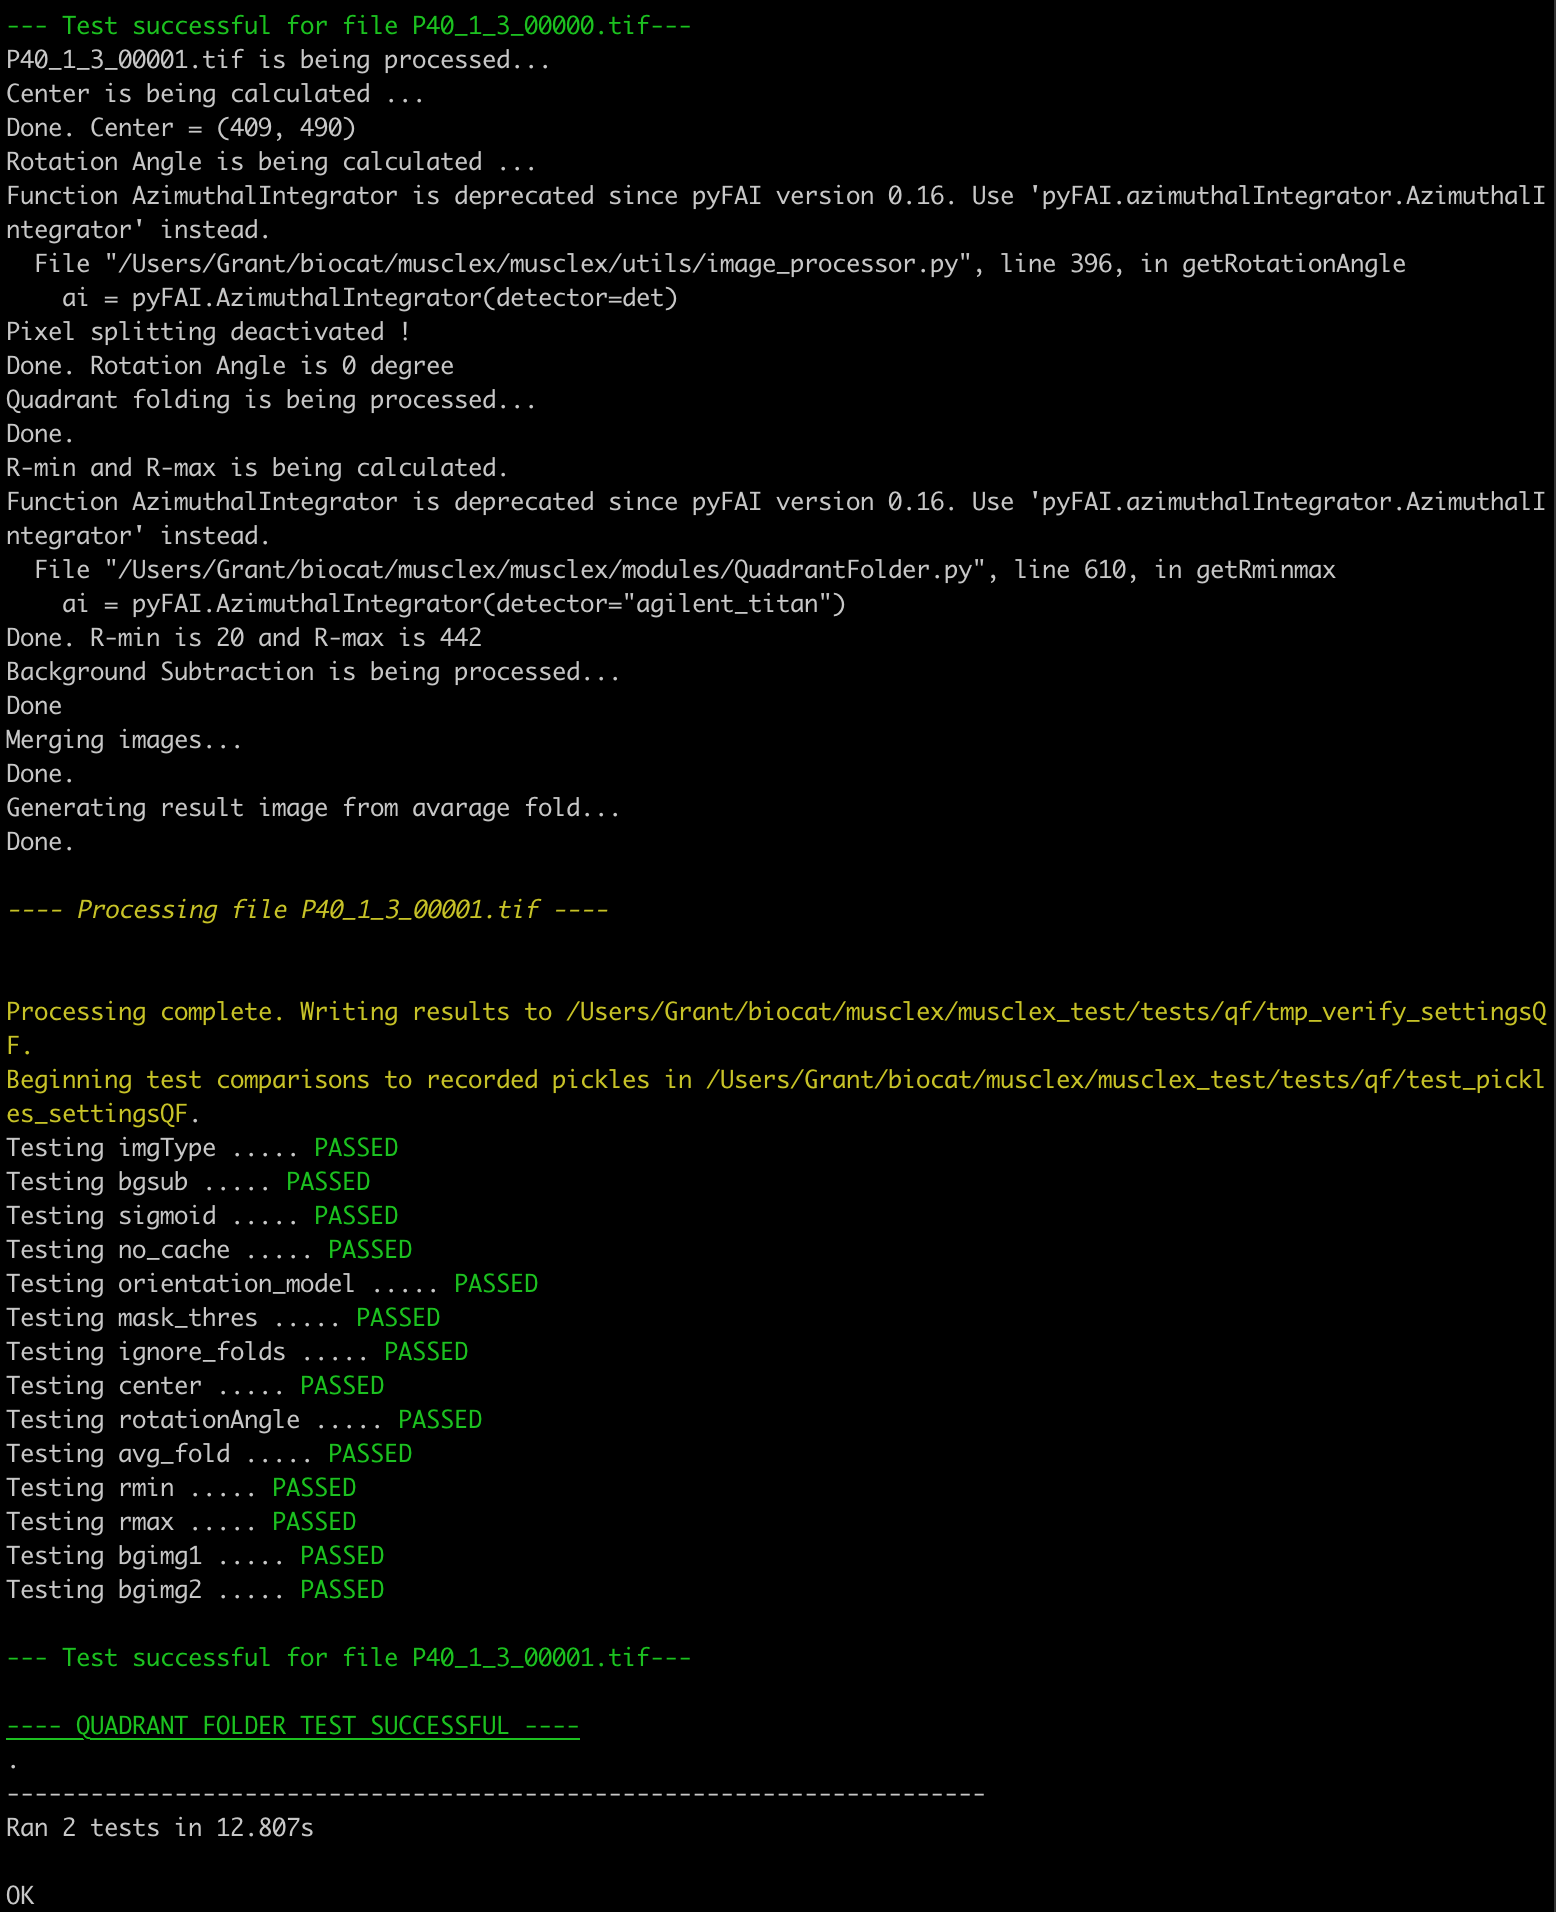
A successful test should produce output similar to the following:

Testing Data
Test data used is found in /musclex/tests/test_images. Each time data in this directory is changed, testrecord should be rerun.
Given a module and corresponding settings, test Pickle files are written to folders in <module_name>/test_pickles_<settings_name>. In testverify mode, a directory <module_name>/tmp_verify_<settings_name> is utilized to store generated Pickle files that are used for comparison, but are deleted at the end of the test. A keeppickles argument is included in the module_test function and can be changed to True to keep the testverify Pickle objects. If a test fails, these temporary Pickle objects are kept to be used for comparison.
Global testing module
Those tests are based on bash scripts musclex/musclex_tester.sh, musclex/musclex_headless_generator.sh and musclex/musclex_headless_compare.sh.
It takes a set of two images for each main type of image (MAR, EIGER and PILATUS for a total of six images) that are saved in
musclex/tests/testImagesand run the functionalities that have a headless run available (Equator, Quadrant Folder and Diffraction). A Json file for each functionality has be saved with the pictures for calibration purpose.Once the results are created, it transfers the results to a temporary file and run it again.
Once it is done, it compares the results created during the first run to the ones made during the second run by comparing the
summary.csvfiles. This test makes sure that no randomness is disturbing the software.It then compares those results to a set of precreated results saved in
musclex/tests/testResultsthat have been generated using the GUI version of the functionalities. This tests makes sure that GUI and headless are giving identical resuts.
Test Suite Summary
The unittest suite is in musclex/tests/module_test.py. It uses Python’s unit testing framework to run tests for each module under different configurations and provides a summary of the results. They can all be run using the instructions for running in testverify mode given above. A summary of each test that’s defined in the unittest suite is given below.
These default test settings were taken from examples in the tests folder in the root directory.
Equator Image Test - testEquatorImage
This test case runs a testverify pass for the following settings configurations.
settingsA = {
    "left_sigmac" : 1.0,
    "right_sigmac" : 1.0,
    "orientation_model" : 0,
    "nPeaks" : 2,
    "model" : "Gaussian",
    "isSkeletal" : True,
    "mask_thres" : -1.0,
    "90rotation" : False,
    "blank_mask" : False
}
settingsB = {
    "left_sigmac" : 1.0,
     "right_sigmac" : 1.0,
    "orientation_model" : 0,
    "nPeaks" : 5,
    "model" : "Voigt",
    "isSkeletal" : True,
    "mask_thres" : -1.0,
    "90rotation" : False,
    "blank_mask" : False
}
Data input: test_images
Pickles to compare to: eq/test_pickles_settingsA, eq/test_pickles_settingsB
To run only this test:
python musclex_test/tests/test_suite.py MuscleXTest.testEquatorImage
Quadrant Folder Test - testQuadrantFolder
The following settings are used.
settingsQF = {
    'bgsub' : 'None',
    'sigmoid' : 0.0,
    'no_cache' : True,
    'orientation_model' : 0
}
Data input: test_images
Pickles to compare to: qf/test_pickles_settingsQF
To run only this test:
python musclex_test/tests/test_suite.py MuscleXTest.testQuadrantFolder
Diffraction Centroids Test - testDiffractionCentroids
The following settings are used.
settingsDC = {
      'orientation_model' : 0,
      '90rotation' : False,
      'no_cache' : True
  }
Data input: test_images
Pickles to compare to: dc/test_pickles_settingsDC
To run only this test:
python musclex_test/tests/test_suite.py MuscleXTest.testDiffractionCentroids
Projection Traces Test - testProjectionTraces
The following settings are used.
settingsPT = {
      'boxes' : {'box1' : ((200, 800),(500, 600))},
      'bgsubs' : {'box1' : 0},
      'types' : {'box1' : 'h'},
      'peaks' : {'box1' : [100]},
      'bgsub' : 'None',
      'sigmoid' : 0.0,
      'no_cache' : True,
      'orientation_model' : 0
  }
Data input: test_images
Pickles to compare to pt/test_pickles_settingsPT
To run only this test:
python musclex_test/tests/test_suite.py MuscleXTest.testProjectionTraces
Scanning Diffraction Test - testScanningDiffraction
Default settings are used (an empty settings dictionary is used to initialize processing).
Data input: test_images/di_test_data
Pickles to compare to di/test_pickles_settingsDI
To run only this test:
python musclex_test/tests/test_suite.py MuscleXTest.testScanningDiffraction
HDF Read Test - testHDFRead
This test checks to make sure h5py can read data from the HDF file generated
by Scanning Diffraction.
Data input: test_images/di_test_data/test.hdf
Pickle to compare to test_images/hdf_record/hdfdata_record.p
pyFAI Integration Test - testGPUIntegratePyFAI
Verifies that the pyFAI integration function works properly when using the csr_ocl integration method. Even if pyopencl is not installed, this function should work with or without a GPU.
GPU Device Test - testOpenCLDevice
Attempts an import of pyopencl and, if successful, lists the GPU devices available. This test passes if OpenCL and GPU acceleration is available and fails otherwise. Failing this test could indicate a problem with the pyopencl installation or imply that GPU acceleration is not available on your device.